Generate images for social media faster with a help of scripts
Often I face some issues when it comes to creating images. Well, maybe ‘issues’ is not the correct word… Briefly, I have clients who complain that creating images for social media takes time. When I wanted to create my own profile on Pinterest or Instagram, I also was stopped by the thoughts like ‘damn, it will take SO long to create visual content!’.
But then suddenly an idea came - I noticed that some kinds of posts are using the same templates over and over, and changing just a small bunch of content like the text on the image or a picture embedded into a picture (or a collage). So this is where tools like ImageMagick will come in very handy. N.B. this method will NOT help to create infographics or some outstanding and unique images - for that type of content, you’d better use tools like Photoshop, Canva, Illustrator, and maybe even hand drawings
But if you create images with text content or embed multiple pictures into a single one, the following info will save you plenty of time.
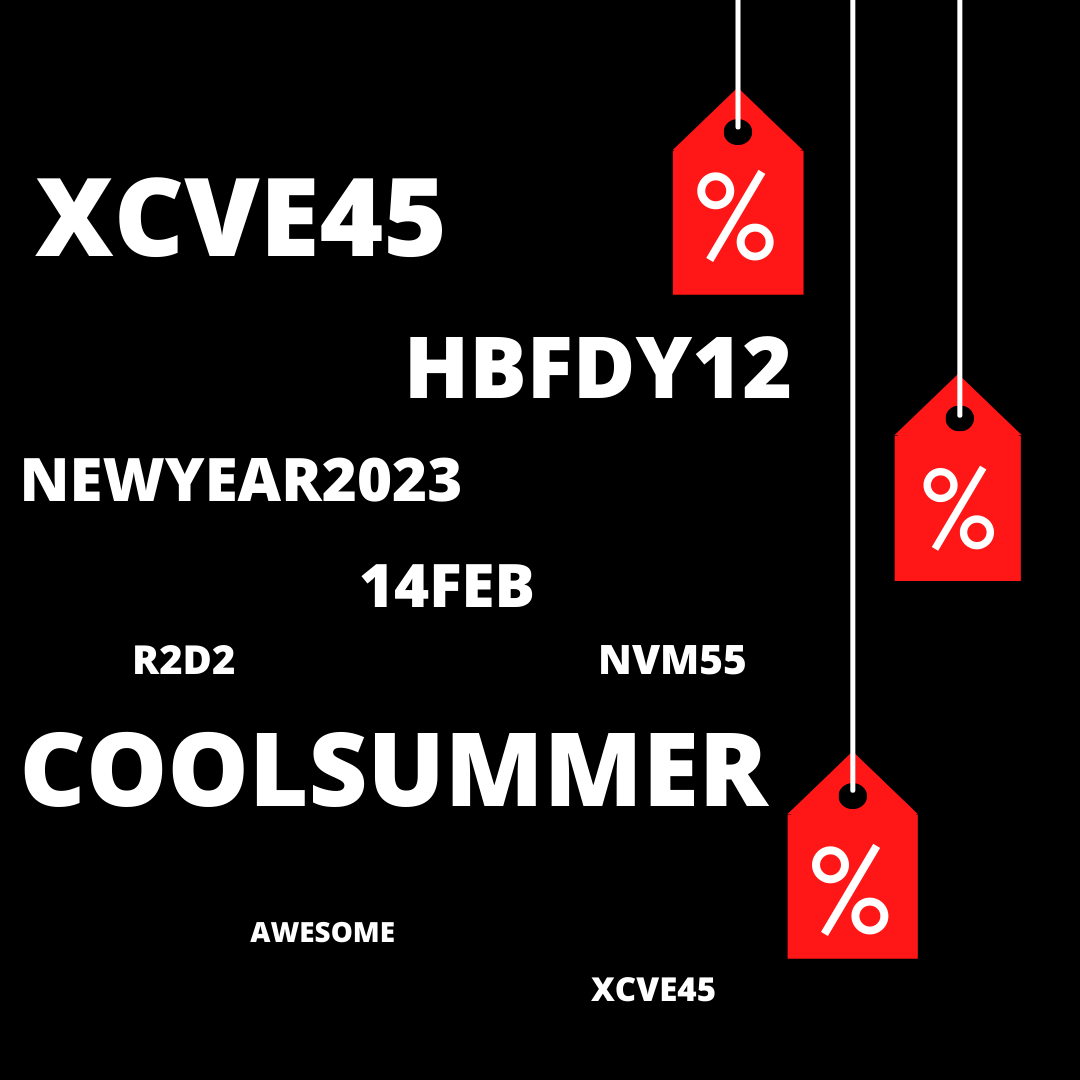
First, you’ll need templates. I can’t show the exact images I was using, but for this example let’s just create a couple of them. You can use any editor you like, whether it’s an app or a web-based one, it doesn’t matter. Let’s imagine, that we created the following pic of an Instagram size:
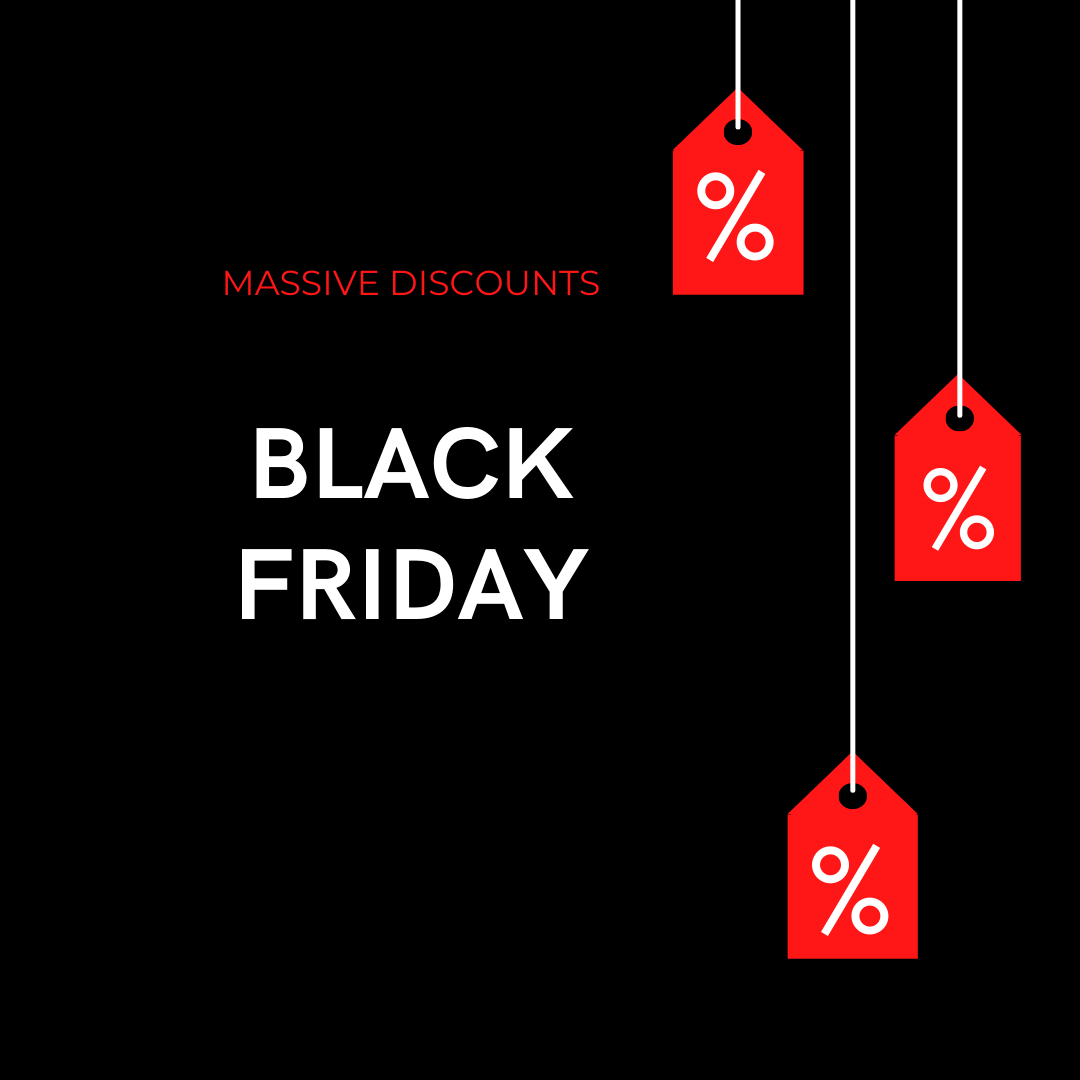
Looks pretty good. Let’s now turn it into a template. Just remove the text.
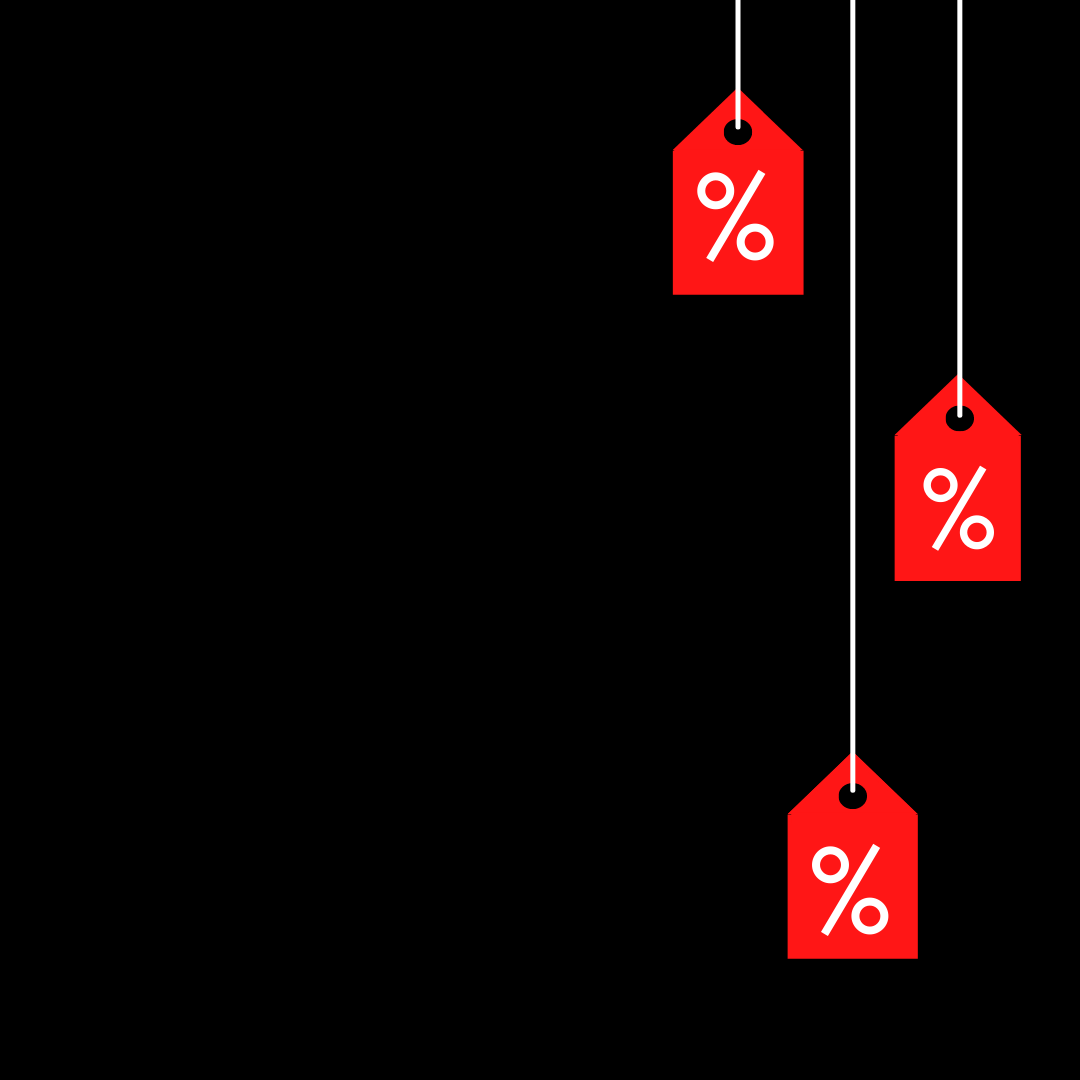
Great. Now we’re ready to turn it into a template. This can be used to generate, say, coupon codes for special clients and then sent to emails.
This, for sure, can be done manually, but we can save plenty of time using ImageMagick.
On Windows, we need to open a terminal and type:
magick.exe convert massive-discounts-notext.png -background none -fill red -size 400x70 caption:"MASSIVE DISCOUNTS" -gravity north -geometry -100+295 -composite -fill white -size 900x100 caption:"BLACK FRIDAY" -gravity center -geometry -100+0 -composite -size 200x100 caption:"x4f0FG" -gravity south -geometry -100+100 -composite resultdisc.pngLet me show the result, and then I’ll explain the commands:
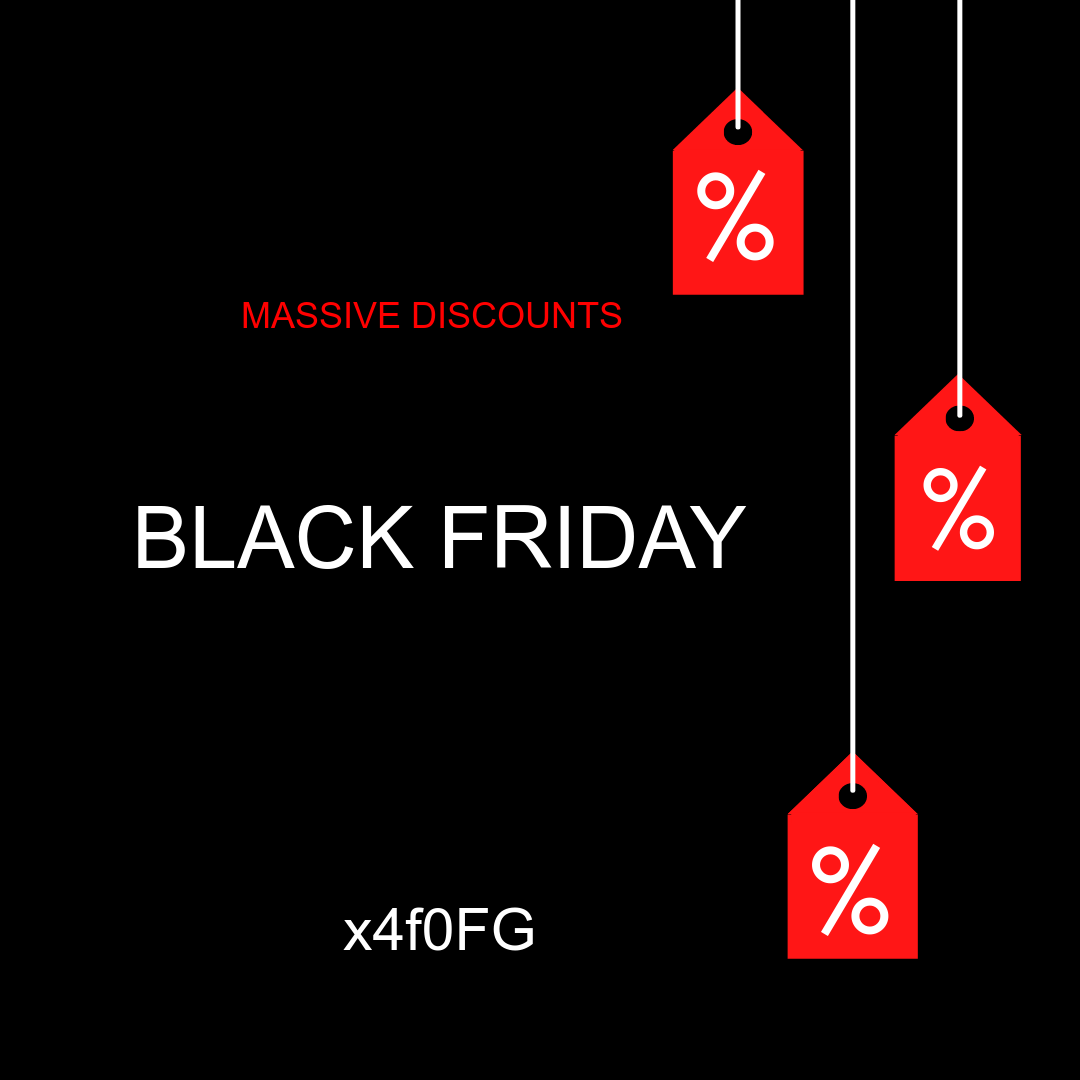
Notice the discount code at the bottom of the image.
As for the commands:
massive-discounts-notext.png is the original template (with all texts removed),
-background none -fill red -size 400x70 caption:"MASSIVE DISCOUNTS" -gravity north -geometry -100+295this snippet adds red text (“massive discounts”) on a transparent background, centers it at the top of the image and adjusts by -100 horizontally (i.e. to the left) and +295 vertically (i.e. from top to bottom),
-composite -fill white -size 900x100 caption:"BLACK FRIDAY" -gravity center -geometry -100+0 -composite -size 200x100 caption:"x4f0FG" -gravity south -geometry -100+100and, finally,
-composite resultdisc.pngTo create an image with another discount code, just copy & paste the same command, and just replace the code itself:
magic.exe convert massive-discounts-notext.png -background none -fill red -size 400x70 caption:"MASSIVE DISCOUNTS" -gravity north -geometry -100+295 -composite -fill white -size 900x100 caption:"BLACK FRIDAY" -gravity center -geometry -100+0 -composite -size 200x100 caption:"KJFBNU4" -gravity south -geometry -100+100 -composite resultdisc.png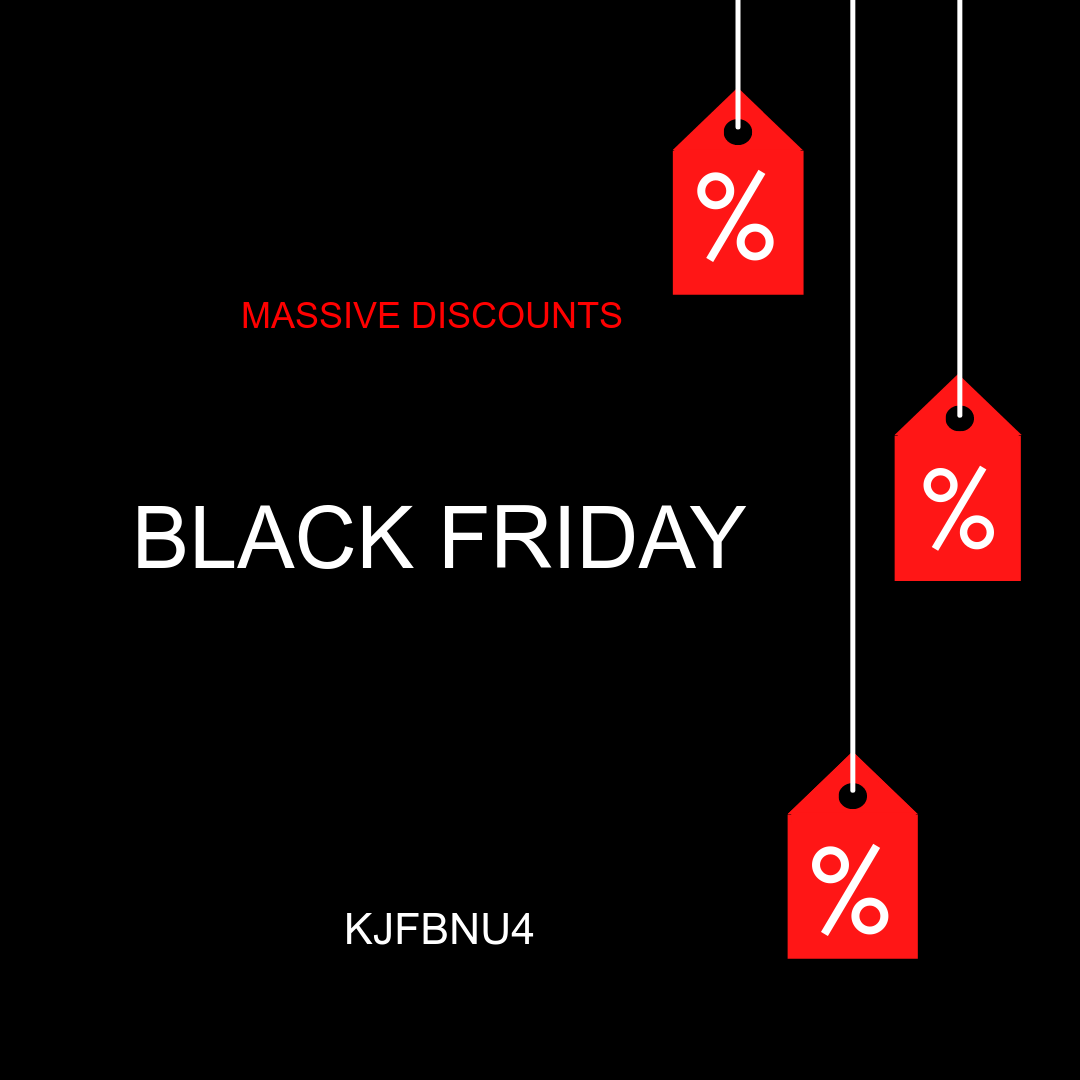 See, it looks like pretty much the same, but the code is different. And took just a couple of seconds to create it!
We can also use multi-line text by adding the “\n” symbol, like this:
caption:"BLACK \n FRIDAY"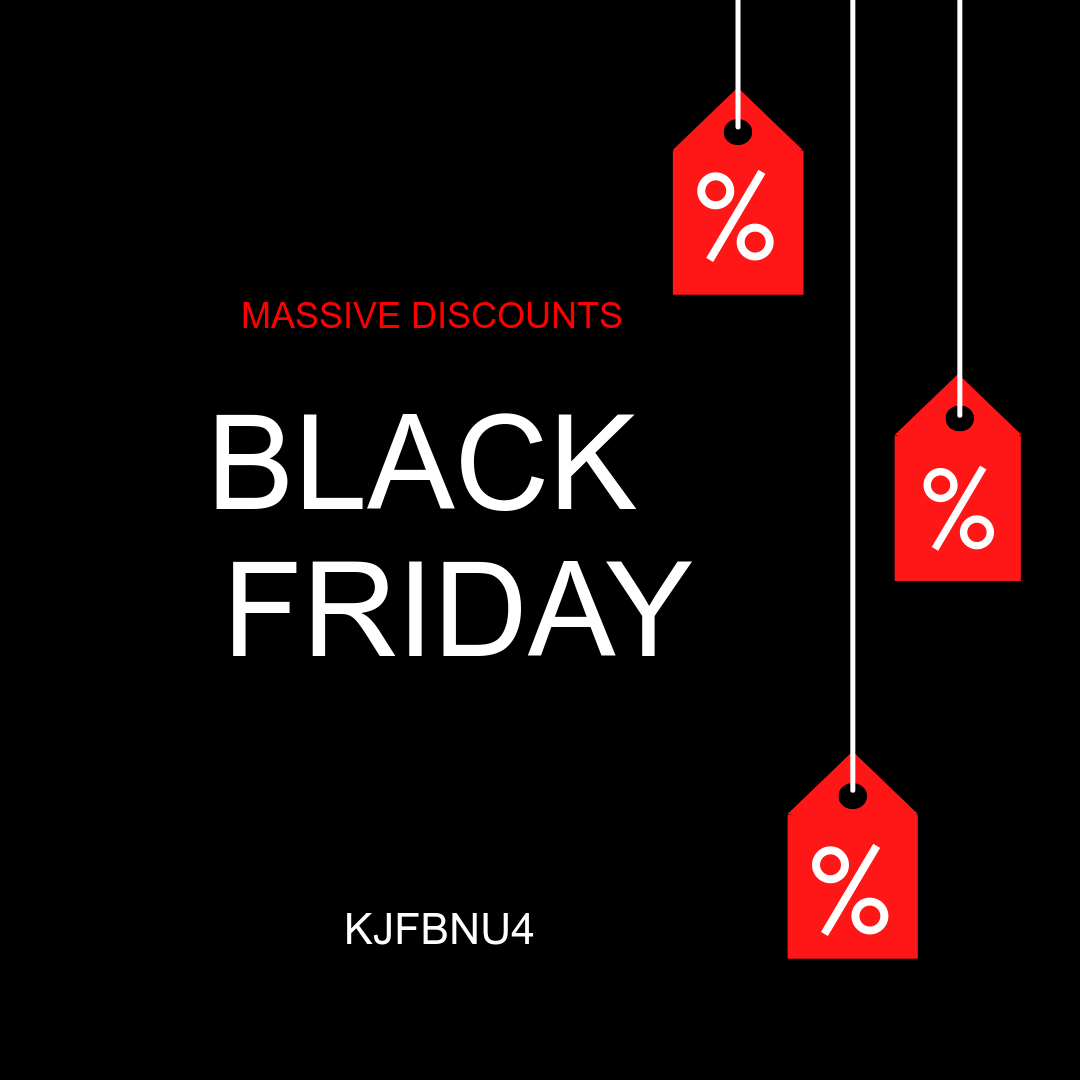
The text is not aligned because we used spaces around the “\n” thing - to align it, just remove spaces from both sides. Or, you can add more spaces to create an effect and move lines respectively to each other.
Finally, we can control the font size by using
-pointsize 25magick.exe convert massive-discounts-notext.png -background none -fill red -size 400x70 caption:"MASSIVE DISCOUNTS" -gravity north -geometry -100+295 -composite -fill white -size 700x300 caption:"BLACK \n FRIDAY" -pointsize 25 -gravity center -geometry -100+0 -composite -size 200x100 caption:"KJFBNU4" -gravity south -geometry -100+100 -composite resultdisc.png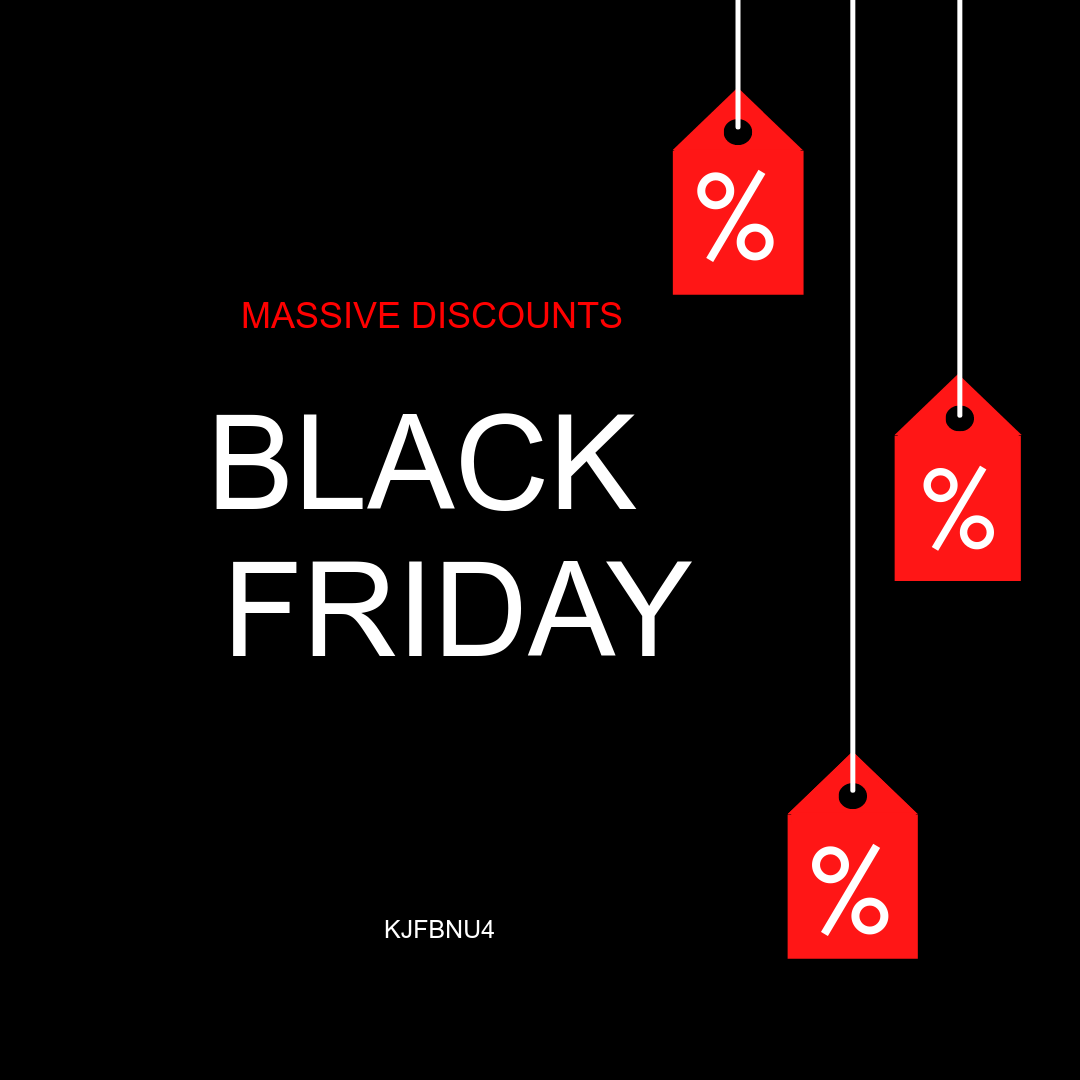
And now the code is much smaller than other text.
Moreover, don’t limit yourself to text - you can embed images too!
When it can be useful:
- for generating massive individual coupons (one of my favorite shops sends me a printed coupon with a discount for the next order; I like this feature very much:))
- for creating memes
- cooking recipes
- daily analytics/news
- for any content that can be templated (you can even create a bunch of textless templates and rotate them automatically)
- for sport events announcements
- anything else
To make it even more powerful, impressive and useful, you can combine it with email sending service, or automate it with Python for example. You can create text content, pre-select a template and schedule image generation or even post it on social media automatically - it really depends only on your goals and imagination!
The simplest way to automate it with Python is to use the execv directive, like this:
import os
os.execv("C:\Program Files\ImageMagick-7.1.0-Q16-HDRI\magick.exe", ['magick.exe convert massive-discounts-notext.png -background none -fill red -size 400x70 caption:"MASSIVE DISCOUNTS" -gravity north -geometry -100+295 -composite -fill white -size 700x300 caption:"BLACK \n FRIDAY" -pointsize 25 -gravity center -geometry -100+0 -composite -size 200x100 caption:"KJFBNU4" -gravity south -geometry -100+100 -composite resultdisc.png'])
The execv function accepts 2 arguments: path to executable (or just a command that will be executer), and the arguments. In our case, the command is a path to ImageMagick.exe:
C:\Program Files\ImageMagick-7.1.0-Q16-HDRI\magick.exe`, and another argument is the generator directive.You can automate is using, say, cron (on *nix systems) or different kinds of schedulers, or even turn it into a chat-bot that will automatically generate image when you send message to it.
ImageMagick is a cool tool with a huge amount of different options, so if you think it might help you or your business - give it a try.